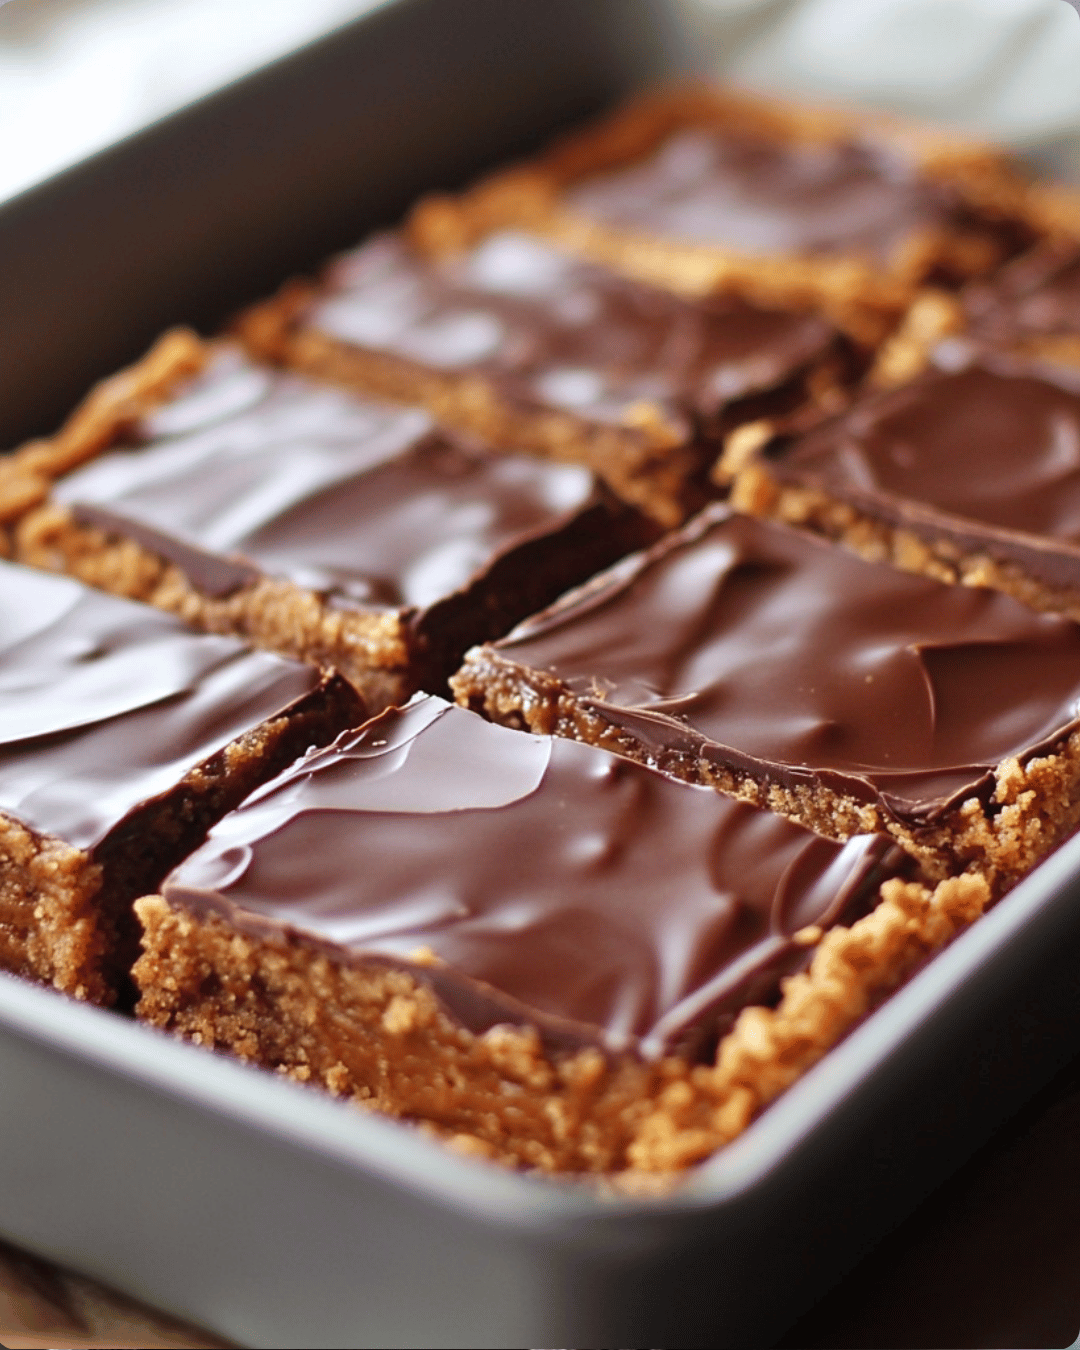
There’s something incredibly comforting about the combination of peanut butter and chocolate — it’s like a hug from your childhood. And today, I’m beyond excited to share a treat that brings all that warmth and sweetness rushing back: Peanut Butter Cup Bars. These dreamy bars taste just like a giant homemade Reese’s — rich, creamy, and oh-so-satisfying. Right after the first bite, you’ll know: these belong in your permanent dessert rotation.
If you’re as obsessed with peanut butter and chocolate as I am, make sure to subscribe to receive this recipe (and many more sweet memories!) delivered straight to your inbox.
Why You’ll Love These Peanut Butter Cup Bars
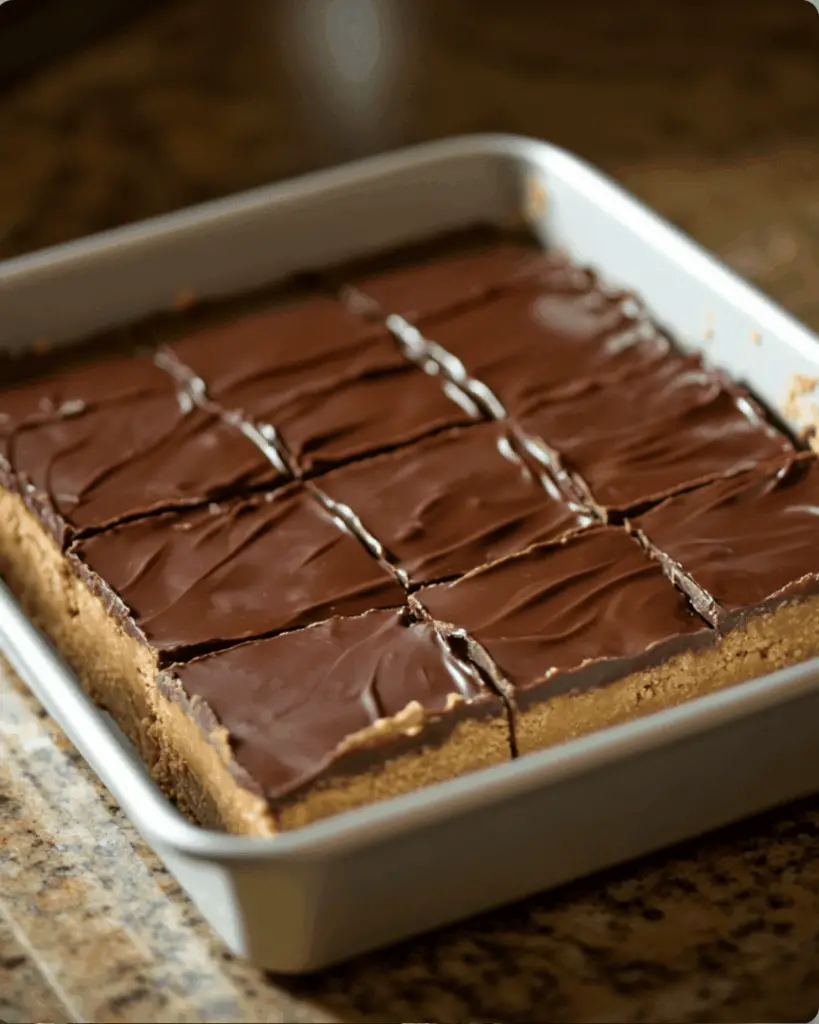
These Peanut Butter Cup Bars are a no-bake wonder, ready with just a few pantry staples. Whether you’re making them for a last-minute gathering, a lunchbox treat, or just to satisfy a nostalgic craving, they always hit the sweet spot.
Reasons to Love This Recipe
- No oven needed – perfect for hot days or quick prep!
- 5 ingredients, one pan – simple and minimal cleanup.
- Tastes like Reese’s, but even better – no exaggeration.
- Perfect texture – soft peanut butter base, smooth chocolate top.
- Make-ahead magic – these chill beautifully and slice like a dream.
What Do They Taste Like?
The base is rich and nutty with a tender, melt-in-your-mouth texture thanks to the graham cracker crumbs and powdered sugar. The peanut butter is front and center — warm, comforting, and creamy. The milk chocolate topping? Silky and sweet, balancing the slight saltiness of the base just perfectly. Each bite is the ultimate throwback to those foil-wrapped peanut butter cups… only bigger, bolder, and better.
Benefits of These Peanut Butter Cup Bars
- Kid-friendly and lunchbox-ready
- Customizable with toppings like flaky sea salt or crushed pretzels
- Freezer-friendly for long-term snacking
- Quick to assemble – done in under 10 minutes (plus chill time!)
- Great for potlucks, parties, or gifting
Ingredients for Peanut Butter Cup Bars
You only need five simple ingredients to make these classic bars:
- ½ cup graham cracker crumbs – Adds structure and a light crunch.
- 1 cup powdered sugar – Sweetens and binds the base.
- ½ cup melted butter – Brings richness and helps the base set.
- ¾ cup peanut butter – Creamy or crunchy, both work beautifully!
- 1½ cups milk chocolate chips – Melts into a smooth, glossy topping.
Optional Additions or Substitutions
- Swap milk chocolate chips for dark chocolate if you like it less sweet.
- Use almond butter or sunflower seed butter for a peanut-free version.
- Add a pinch of salt to the base for a sweet-salty twist.
- Sprinkle crushed peanuts, mini Reese’s, or flaky sea salt on top before chilling.
Tools You’ll Need
- 8×8-inch square baking dish
- Mixing bowl
- Spatula
- Microwave-safe bowl (for melting chocolate)
- Measuring cups
- Knife for slicing
How to Make Peanut Butter Cup Bars (Step-by-Step)
Step 1: Mix the Base
In a medium bowl, stir together the graham cracker crumbs, powdered sugar, melted butter, and peanut butter until fully combined. It should look like a thick dough.
Step 2: Press Into Pan
Line your 8×8-inch pan with parchment or lightly grease it. Press the peanut butter mixture into the bottom of the pan in an even layer. Use the back of a spoon or your hands to press it down firmly.
Step 3: Melt the Chocolate
In a microwave-safe bowl, melt the milk chocolate chips in 20-second intervals, stirring in between until completely smooth.
Step 4: Pour and Spread
Pour the melted chocolate over the peanut butter base. Use a spatula to smooth the top evenly.
Step 5: Chill and Slice
Refrigerate for 1–2 hours, or until the chocolate has set. Once firm, slice into squares or bars. Tip: Run your knife under warm water before slicing to prevent cracks.
What to Serve with Peanut Butter Cup Bars
- Cold milk or hot coffee – the classic combo!
- A scoop of vanilla ice cream on top for the ultimate indulgence.
- Fresh strawberries or bananas – adds a fruity contrast.
- Crumbled into a milkshake – yep, I went there.
Tips for Making the Best Peanut Butter Cup Bars
- Don’t skip chilling – it helps the bars hold together perfectly.
- Line your pan – makes it super easy to lift and slice cleanly.
- Smooth chocolate fast – it sets quickly once poured.
- Use good quality chocolate – it makes a difference in taste and texture.
How to Store Peanut Butter Cup Bars
- Refrigerator: Store in an airtight container for up to 1 week.
- Freezer: Freeze in layers with parchment between bars for up to 2 months. Thaw at room temp for 20 minutes before eating.
General Information About Peanut Butter Bars
Peanut butter bars first gained popularity in home kitchens during the mid-20th century, especially among American bakers looking for quick, inexpensive desserts with pantry ingredients. These no-bake versions became a go-to thanks to their ease and universal appeal — and their resemblance to the beloved Reese’s made them an instant classic. They’re a nostalgic favorite for many, and still as loved today as ever.
Creative Variations to Try
I promised you versatile, and here’s proof! Once you’ve made the classic version, you’ll want to riff on it in so many fun ways:
Peanut Butter Pretzel Bars
Add a crushed pretzel layer to the base or sprinkle pretzel bits on top of the melted chocolate before chilling. The extra crunch and salty twist? Anything but boring!!
Nut-Free SunButter Version
Use sunflower seed butter instead of peanut butter and allergy-friendly graham crackers and chocolate. You’ll keep the same delicious texture and flavor vibe without any peanuts in sight.
Crunchy Peanut Butter Upgrade
Swap in crunchy peanut butter for added texture in every bite. Bonus: if you sprinkle crushed peanuts on top too, it adds great visual flair and contrast.
Espresso Chocolate Topping
Melt chocolate with a tiny dash of espresso powder — it deepens the chocolate flavor and adds a subtle mocha note. Perfect for adult palates.
Make It a Dessert Board Star!
Think outside the baking dish! Slice these into small squares and include them as part of a dessert charcuterie board alongside:
- Mini cookies
- Chocolate-covered pretzels
- Strawberries
- Caramel popcorn
They hold their shape well and add that rich, creamy element that anchors the whole board.
Kid-Friendly Baking Activity
No stove. No oven. No sharp tools. This recipe is absolutely perfect to make with little ones!
Let them:
- Stir the peanut butter mixture
- Press the base into the pan
- Pour and swirl the chocolate
Let’s be honest — they’ll also love licking the spoon! 😉
Frequently Asked Questions (FAQ)
Can I use natural peanut butter?
Yes, but make sure it’s well stirred and not too runny. Natural versions without added sugar will make the bars slightly less sweet.
Can I double the recipe?
Absolutely! Use a 9×13-inch pan for a double batch and expect slightly longer chill time.
Can I make this dairy-free?
Yes! Use plant-based butter and dairy-free chocolate chips. Ensure your graham crackers are dairy-free as well.
My chocolate cracked when slicing — what happened?
It likely chilled too long or too cold. Let the bars sit at room temperature for 10–15 minutes and warm your knife before cutting.
Conclusion
If you’re looking for an easy, crowd-pleasing dessert that brings all the childhood joy without turning on the oven, these Peanut Butter Cup Bars are it. They’re creamy, chocolatey, and nostalgic in the best way possible — and they might just be the easiest treat you make all week. Whether you’re packing lunchboxes, baking with kids, or need something sweet now, this recipe is one you’ll come back to again and again.
Craving more peanut butter + chocolate combos? Check out these favorites:
- Chocolate Peanut Butter Banana Bread
- No-Bake Oreo Peanut Butter Pie
- Peanut Butter Swirl Brownies
Let’s Get Social!
If you try this recipe, I’d love to see your creations! Share a photo on Pinterest and tag me so we can drool over these bars together. 💛 And don’t forget to leave a review below — your feedback means the world!
Nutritional Information (per serving, based on 16 bars)
- Calories: ~210
- Fat: 13g
- Carbohydrates: 22g
- Protein: 3g
- Sugar: 18g
Peanut Butter Cup Bars
Ingredients
- 1/2 cup graham cracker crumbs
- 1 cup powdered sugar
- 1/2 cup melted butter
- 3/4 cup peanut butter
- 1 1/2 cups milk chocolate chips
Instructions
- Mix graham crumbs, powdered sugar, butter, and peanut butter.
- Press into an 8×8-inch pan.
- Melt chocolate and spread over top.
- Chill for 1–2 hours before slicing.
Notes
Based on 16 squares per 8×8-inch pan: Calories: ~210 Total Fat: 13g Saturated Fat: 5g Carbohydrates: 22g Sugar: 18g Protein: 3g Fiber: 1g Sodium: 80mg Note: Nutrition will vary slightly based on brand of ingredients used (especially peanut butter and chocolate chips). Preparation & Chill Time
Prep Time: 10 minutes
Chill Time: 1–2 hours (until chocolate is fully set)
Total Time: 1 hour 10 minutes – 2 hours 10 minutes
Yield: 16 bars
Difficulty: Easy – no bake, minimal tools required
Leave a Comment