This Old-Fashioned Chocolate Fudge recipe brings back delightful memories with its rich and creamy texture. Perfect for holiday gatherings, special occasions, or simply satisfying your chocolate cravings, this fudge is easily customizable. Add your favorite treats like nuts or candies for a unique twist. Plus, using a candy thermometer ensures you achieve the perfect consistency every time!
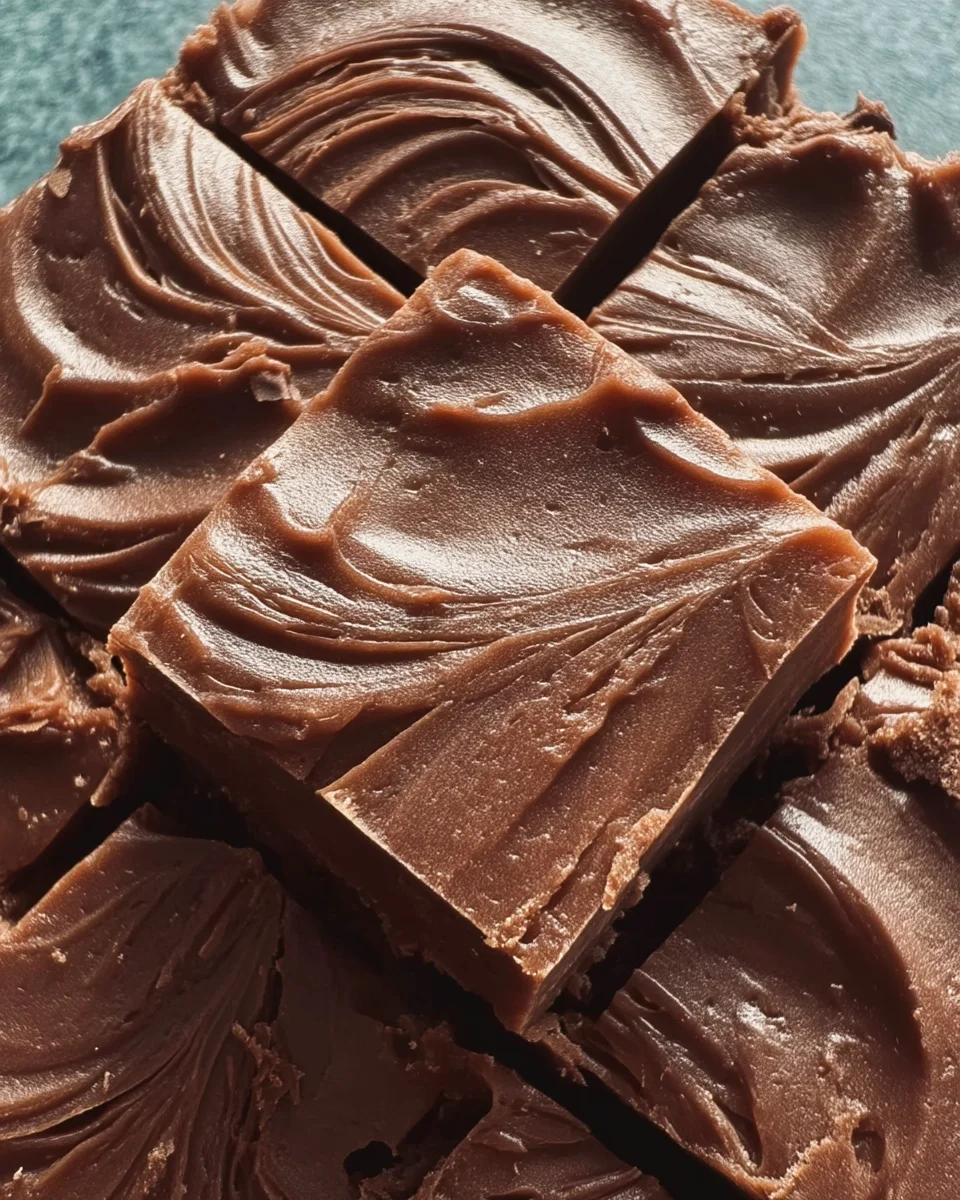
Why You’ll Love This Recipe
- Nostalgic Flavor: Experience the classic taste of chocolate fudge that takes you back to childhood.
- Customizable Options: Mix in chocolate chips, nuts, or mini candies for a personal touch.
- Easy to Prepare: With straightforward steps and common ingredients, anyone can make this fudge.
- Perfect for Any Occasion: Whether it’s a holiday dessert or a sweet treat for friends, this fudge fits all settings.
- Large Batch: Yielding over 60 bite-sized squares means plenty to share (or enjoy solo)!
Tools and Preparation
To make your cooking experience smooth and enjoyable, gather the necessary tools before starting.
Essential Tools and Equipment
- Candy thermometer
- Medium saucepan
- Wooden spoon
- 8-inch square baking dish
- Grease or cooking spray
Importance of Each Tool
- Candy thermometer: This tool helps ensure your fudge reaches the right temperature for perfect consistency.
- Medium saucepan: A good quality saucepan allows for even heating and prevents burning.
- Wooden spoon: Ideal for mixing, it doesn’t conduct heat and provides sturdy stirring power.
Ingredients
For the Fudge Mixture
- 1 cup Whole Milk
- 1 teaspoon Vanilla Extract
- 4 tablespoons Unsalted Butter (soft and sliced)
- 2 cups Granulated White Sugar
- ½ cup Unsweetened Cocoa Powder
How to Make Old-fashioned Chocolate Fudge
Step 1: Assembly First
Gather all your ingredients to ensure a seamless cooking experience.
Step 2: Pan Prep
Liberally grease an 8-inch square baking dish to prevent any sticky situations.
Step 3: The Mix
Combine granulated sugar and unsweetened cocoa powder in a medium saucepan. Stir in whole milk until well blended. Heat on medium-high while continuously stirring until the mixture reaches a bubbling boil.
Step 4: Temperature Control
Reduce heat to a gentle simmer and place a candy thermometer into the pan. Allow it to simmer undisturbed until it reaches 238°F (114°C), which should take around 10 minutes.
Step 5: The Water Test
If you don’t have a candy thermometer, use the water test. Drop a small amount of fudge mixture into cold water. If it forms a soft ball that flattens when pressed, your mixture is ready.
Step 6: The Waiting Game
Remove the saucepan from heat and let it cool down to 110°F (43°C), typically taking about 50 to 70 minutes. Keep the mixture undisturbed during cooling.
Step 7: Butter & Vanilla
Add softened unsalted butter and vanilla extract. Beat vigorously with a wooden spoon until fully combined and the mixture loses its glossy appearance.
Step 8: The Final Pour
Pour the fudge mixture into the pre-greased pan. Use a spatula to gently press down and even out the surface.
Step 9: Cool & Cut
Let the fudge cool at room temperature or in the fridge. Once solidified, cut into 1-inch squares and enjoy!
How to Serve Old-fashioned Chocolate Fudge
Old-fashioned Chocolate Fudge is a delightful treat that can be enjoyed in various ways. Whether you’re hosting a gathering or simply indulging at home, these serving suggestions will elevate your fudge experience.
As Classic Squares
- Cut your fudge into 1-inch squares for easy serving. This classic presentation makes it perfect for sharing at parties or events.
With Fresh Berries
- Pairing fudge with fresh berries like strawberries or raspberries adds a refreshing contrast. The acidity of the berries complements the rich sweetness of the fudge.
On a Dessert Platter
- Arrange your fudge squares on a beautiful dessert platter alongside other sweets. This makes for an inviting display that is sure to impress your guests.
With Ice Cream
- Serve warm fudge over a scoop of vanilla ice cream for an indulgent dessert. The combination of hot and cold creates a delightful sensory experience.
Gift-Wrapped Treats
- Package fudge squares in decorative boxes or bags as gifts. This personal touch makes for a thoughtful present during holidays or special occasions.
Accompanied by Coffee
- Offer small squares of fudge with a cup of freshly brewed coffee. The bitterness of the coffee balances the sweetness of the fudge, making for an enjoyable pairing.
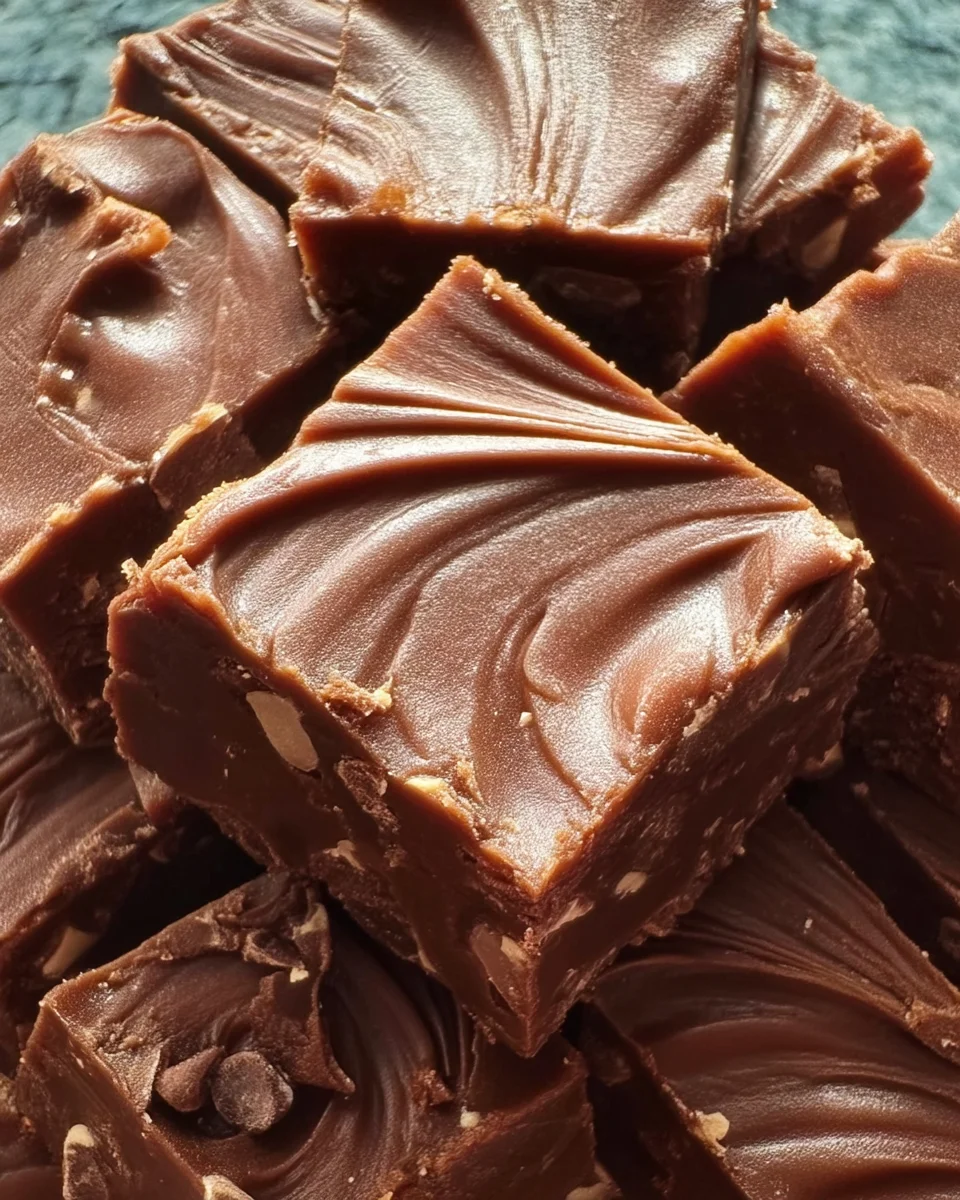
How to Perfect Old-fashioned Chocolate Fudge
To achieve the best results with your old-fashioned chocolate fudge, consider these essential tips:
- Use a Candy Thermometer: This ensures precise temperature control, which is crucial for achieving the right texture.
- Stir Constantly: Keeping the mixture in motion while cooking prevents it from burning and helps create a smooth consistency.
- Cool Undisturbed: Allowing the fudge to cool without stirring helps develop its texture and flavor.
- Beat Vigorously: When adding butter and vanilla, beating well incorporates air into the mixture, contributing to its final texture.
- Grease Your Pan Well: A well-greased pan ensures easy removal of the fudge once it’s set, preventing any sticky situations.
- Experiment with Add-ins: Feel free to customize your fudge by adding nuts, chocolate chips, or even dried fruits for an extra twist.
Best Side Dishes for Old-fashioned Chocolate Fudge
When serving old-fashioned chocolate fudge, pairing it with complementary side dishes can enhance the overall experience. Here are some great options:
- Whipped Cream: Light and airy whipped cream adds a luscious texture that pairs beautifully with rich chocolate.
- Chocolate Sauce: Drizzle some extra chocolate sauce over your fudge for those who crave even more chocolatey goodness.
- Salted Caramel Sauce: A drizzle of salted caramel brings both sweetness and saltiness that contrasts wonderfully with the rich fudge.
- Nuts: Roasted nuts such as pecans or walnuts provide a crunchy texture that complements the softness of the fudge.
- Marshmallows: Soft marshmallows add another layer of sweetness and pair well when served alongside warm fudge.
- Fresh Fruit Salad: A light fruit salad offers freshness and balance against the rich flavors of chocolate.
- Cheese Platter: Serve alongside mild cheeses like brie or goat cheese to create an interesting sweet-savory experience.
- Tea Selection: A variety of herbal teas can provide a soothing backdrop to enjoy your rich chocolate treat with every bite.
Common Mistakes to Avoid
Making old-fashioned chocolate fudge can be a delightful experience, but there are a few common pitfalls to avoid.
- Overheating the Mixture: This can lead to dry fudge. Keep your heat at medium and monitor closely.
- Not Using a Candy Thermometer: Without this tool, it’s easy to misjudge the temperature. Invest in one for accuracy.
- Skipping the Cooling Period: Allowing the mixture to cool undisturbed is crucial for texture. Be patient during this step.
- Not Greasing the Pan Properly: Sticky fudge is no fun! Use enough grease on your baking dish to ensure easy removal.
- Ignoring Add-ins Timing: If you plan to add extras like nuts or candies, do so after incorporating butter and vanilla for even distribution.
Storage & Reheating Instructions
Refrigerator Storage
-
- Duration: Store in the fridge for up to 2 weeks.
-
- Container: Use an airtight container to keep it fresh.
Freezing Old-fashioned Chocolate Fudge
-
- Duration: Freeze for up to 3 months.
-
- Container: Wrap tightly in plastic wrap and place in a freezer-safe bag.
Reheating Old-fashioned Chocolate Fudge
-
- Oven: Preheat to 350°F (175°C) and warm in a covered dish for about 10 minutes.
-
- Microwave: Heat in short bursts of 10-15 seconds until just warm; avoid overheating.
-
- Stovetop: Use low heat in a saucepan, stirring gently until warmed through.
Frequently Asked Questions
What makes old-fashioned chocolate fudge different?
Old-fashioned chocolate fudge is rich, creamy, and has a classic texture that stands out from other fudge recipes due to its use of whole milk and cocoa powder.
Can I customize my old-fashioned chocolate fudge?
Absolutely! You can add various ingredients like nuts, chocolate chips, or mini candies during the mixing process for a unique twist.
How long does old-fashioned chocolate fudge last?
When stored properly in an airtight container in the refrigerator, it can last up to two weeks.
What’s the best way to cut old-fashioned chocolate fudge?
For clean cuts, use a sharp knife dipped in hot water. Wipe the knife between cuts for neat squares.
Can I make old-fashioned chocolate fudge without a candy thermometer?
Yes! You can perform the water test by dropping some mixture into cold water; if it forms a soft ball, it’s ready.
Final Thoughts
This old-fashioned chocolate fudge recipe offers not only rich flavor but also versatility for any occasion. With options for customization, you can easily adapt it to suit your tastes or those of your guests. Give it a try and enjoy this delightful treat!
Old-Fashioned Chocolate Fudge
- Total Time: 35 minutes
- Yield: Approximately 60 squares 1x
Description
Indulge in the nostalgia of homemade treats with this irresistible old-fashioned chocolate fudge recipe. Offering a rich and creamy texture, this fudge is perfect for holiday gatherings, celebrations, or simply satisfying your sweet tooth. With its classic chocolate flavor and customizable options—like adding nuts or candies—this recipe invites creativity while keeping things simple. Using a candy thermometer guarantees that you’ll achieve the perfect consistency every time, making it a foolproof dessert for both seasoned bakers and novices alike. Enjoy the delightful experience of crafting this timeless treat that’s sure to impress family and friends!
Ingredients
- 1 cup Whole Milk
- 4 tablespoons Unsalted Butter (soft and sliced)
- 2 cups Granulated White Sugar
- ½ cup Unsweetened Cocoa Powder
- 1 teaspoon Vanilla Extract
Instructions
- Assemble all ingredients for a smooth cooking experience.
- Grease an 8-inch square baking dish generously to prevent sticking.
- In a medium saucepan, mix granulated sugar and cocoa powder, then stir in whole milk until well combined. Heat on medium-high while stirring until it comes to a boil.
- Reduce heat to simmer; insert a candy thermometer and cook undisturbed until it reaches 238°F (114°C), about 10 minutes.
- Remove from heat and let cool to 110°F (43°C) without stirring for 50-70 minutes.
- Add softened butter and vanilla extract; beat vigorously with a wooden spoon until well blended and the mixture becomes less glossy.
- Pour into the greased pan, spreading evenly with a spatula.
- Allow to cool completely before cutting into 1-inch squares.
- Prep Time: 15 minutes
- Cook Time: 20 minutes
- Category: Dessert
- Method: Baking
- Cuisine: American
Nutrition
- Serving Size: 1 serving
- Calories: 120
- Sugar: 16g
- Sodium: 25mg
- Fat: 5g
- Saturated Fat: 3g
- Unsaturated Fat: 2g
- Trans Fat: 0g
- Carbohydrates: 17g
- Fiber: 1g
- Protein: 1g
- Cholesterol: 10mg
Leave a Comment