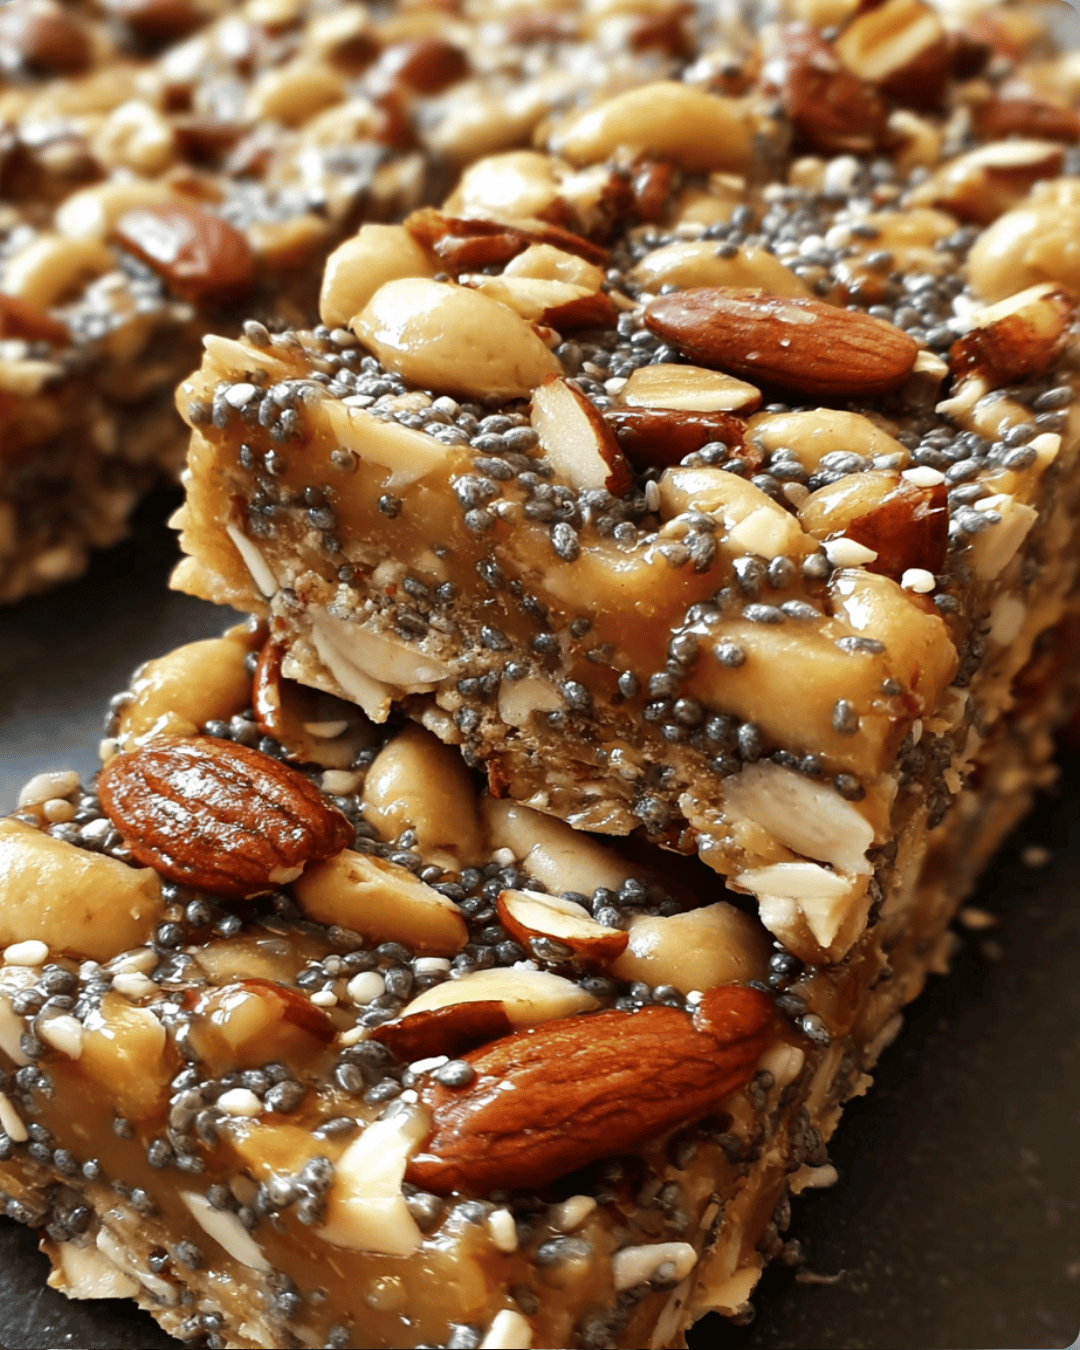
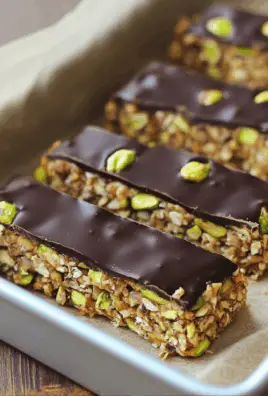
There’s something universally comforting about Honey Nut Cheerios. Now imagine transforming that classic breakfast cereal into delicious, no-bake Honey Nut Cheerios Breakfast Bars that are perfect for busy mornings, lunchboxes, or afternoon pick-me-ups.

These bars are the ultimate solution for anyone who wants a quick, easy, and customizable snack. Whether you’re meal-prepping for the week, looking for a healthy treat for your kids, or simply trying to use up leftover cereal, this recipe delivers. The sweet blend of honey and peanut butter binds the crunchy cereal into chewy, satisfying bars that you can grab on the go.
If you’re looking for more breakfast recipes , there are plenty of options available.
According to Healthline, Honey Nut Cheerios can be part of a heart-healthy diet when consumed in moderation. However, by making your own cereal bars, you control the amount of added sugar and fat, ensuring a healthier choice tailored to your needs.
Preparation Phase & Tools to Use
Before diving in, ensure you have everything ready. Proper preparation ensures a smooth, mess-free process.
Essential Tools and Equipment
Importance of Each Tool
Using the right tools ensures consistency in texture, simplifies cleanup, and makes portioning easier. The parchment paper allows you to lift out the entire slab of bars for easy cutting.
Preparation Tips
- Measure ingredients accurately
- Use fresh cereal for best texture
- Grease your spatula to prevent sticking while pressing the mixture into the pan
Ingredients List
- 3 cups Honey Nut Cheerios
- 1/2 cup honey (natural binder and sweetener)
- 1/2 cup creamy peanut butter (or almond butter for variation)
- 1 teaspoon vanilla extract (for added aroma)
- Pinch of salt (enhances flavors)
- 1/4 cup mini chocolate chips (optional)
- Optional add-ins:
- Protein powder (for extra protein)
- Chopped nuts
- Dried cranberries or raisins
- Flax or chia seeds for added fiber
Step-by-Step Directions
Prepare the Pan
Line an 8×8-inch baking dish with parchment paper. Leave some overhang for easy removal later.
Melt Peanut Butter and Honey
In a small saucepan, combine honey and peanut butter over low heat. Stir continuously until smooth and fully combined. Do not overheat. High heat can make the mixture gritty.
Add Vanilla and Salt
Remove from heat. Stir in vanilla extract and a pinch of salt.
Mix with Cereal
Place Honey Nut Cheerios into a large mixing bowl. Pour the warm honey-peanut butter mixture over the cereal. Gently fold using a rubber spatula until all the cereal is evenly coated. Work quickly before the mixture starts to firm up.
Press Into Pan
Pour the mixture into the prepared pan. Using your greased spatula or lightly oiled hands, press the mixture firmly into the pan. Ensure an even layer for uniform bars.
Add Chocolate Chips (Optional)
While still warm, sprinkle mini chocolate chips over the top. Lightly press them into the surface.
Refrigerate and Cut
Refrigerate for at least 1-2 hours or until firm. Lift the parchment paper to remove the slab. Cut into bars or squares with a sharp knife.
Recipe Variations
- Nut-Free: Use sunflower seed butter instead of peanut butter.
- Low-Sugar: Use natural peanut butter and reduce honey slightly.
- High-Protein: Add 1 scoop of vanilla protein powder.
- Gluten-Free: Use certified gluten-free oat cereal.
Serving Suggestions
Honey Nut Cheerios breakfast bars are highly versatile. Here are some ideal ways to enjoy them:
Breakfast On-the-Go
Perfect for busy mornings. Grab a bar as you head out the door. Pair it with a cup of coffee or tea for a complete quick breakfast.
Kids’ Lunchboxes
These bars are an excellent addition to your child’s lunchbox. They are nutty, sweet, and satisfying, offering both energy and nutrients.
Pre-Workout Snack
Due to their balanced mix of carbohydrates and protein, these bars serve as a great pre-workout snack to fuel your exercise sessions.
Afternoon Energy Boost
When the afternoon slump hits, one of these bars provides a quick energy boost without the crash that comes from sugary snacks.
Dessert Alternative
Top with a dollop of Greek yogurt or drizzle with dark chocolate to turn it into a healthier dessert option.
Meal Prep
Make a large batch on Sunday to have easy breakfasts or snacks ready throughout the week.
Coffee Shop Alternative
Instead of expensive granola bars from a café, enjoy your homemade version at a fraction of the cost.
Common Mistakes to Avoid & How to Perfect the Recipe
Using Stale Cereal
Fresh cereal ensures the bars are crunchy and flavorful. Avoid using cereal that has lost its crisp texture.
Overheating the Honey and Peanut Butter
Heating too aggressively can burn the mixture or make it gritty. Always heat on low and stir constantly for a smooth blend.
Not Pressing Firmly into the Pan
If you don’t press the mixture down tightly, your bars may crumble. Use a flat spatula or the bottom of a measuring cup to press evenly.
Cutting Before Fully Set
Impatience can ruin your bars. Always refrigerate for at least 1-2 hours to allow them to firm up completely before slicing.
Overloading with Add-ins
While it’s tempting to add many extras, too many mix-ins can prevent the bars from holding together properly. Stick to small quantities for balance.
Inconsistent Mixing
Make sure every piece of cereal is coated with the honey-peanut butter mixture. Inconsistent mixing can lead to dry spots in your bars.
Skipping Parchment Paper
Using parchment paper ensures the bars release easily from the pan, making cutting and cleanup much easier.
Storing Incorrectly
Improper storage can lead to soggy or stale bars. Always store them in an airtight container.
Side Dish Recommendations
To round out your meal, consider pairing the bars with these complementary dishes:
Fresh Fruit Slices
Serve the bars alongside apple slices, berries, or orange segments for added vitamins and fiber.
Yogurt Parfait
Layer Greek yogurt with fresh fruit and a sprinkle of granola. The creamy texture pairs well with the chewy bars.
Hard-Boiled Eggs
A protein-rich side that complements the carbohydrate content of the bars for a balanced breakfast.
Protein Shake
Blend your favorite protein powder with almond milk, banana, and spinach for a complete meal.
Smoothie Bowls
Create vibrant smoothie bowls topped with seeds, nuts, and a few pieces of your cereal bars for added texture.
Coffee or Tea Pairings
A hot cup of coffee or a calming green tea makes the perfect beverage to enjoy with your breakfast bars.
Chia Pudding
Prepare overnight chia pudding and enjoy it with your bars for an extra fiber boost.
Nut Butter Banana Slices
Top banana rounds with almond or peanut butter and serve alongside your cereal bars for a wholesome snack combination.
Recipe Tips, Storage, and Reheating Instructions
Recipe Tips
- Always use natural, unsweetened peanut butter for better control over sugar content.
- For added crunch, lightly toast chopped nuts before adding them to the mixture.
- To make clean cuts, use a sharp knife dipped in hot water and wiped dry between cuts.
- Customize sweetness by adjusting the amount of honey or using sugar-free syrups.
Storage Instructions
Proper storage ensures the bars maintain their texture and taste:
- Store the bars in an airtight container.
- Keep them refrigerated for up to 7 days.
- For longer storage, freeze the bars for up to 3 months. Place parchment paper between layers to prevent sticking.
- Thaw frozen bars at room temperature for 30 minutes before serving.
Reheating Instructions
These bars are designed to be eaten cold or at room temperature. Reheating is not recommended as it may cause the bars to lose their structure and become too soft.
FAQs
How to make cereal bars with leftover cereal?
You can easily make cereal bars with any leftover cereal by following a simple formula. Combine three parts cereal with one part sticky binder, such as honey, syrup, or nut butter. Gently heat the binder ingredients to make them pourable, mix with the cereal, press into a pan, and let set.
What does Honey Nut Cheerios do to your body?
Honey Nut Cheerios can contribute positively to heart health because they contain soluble fiber from oats, which helps reduce LDL cholesterol levels. They are fortified with essential vitamins and minerals like iron and B vitamins. However, they also contain added sugars, so they should be consumed in moderation, particularly if you are monitoring your sugar intake.
Can dogs eat Honey Nut Cheerios?
Small amounts of Honey Nut Cheerios are generally safe for dogs as an occasional treat. They are not toxic, but they offer little nutritional value for pets and contain added sugars. Avoid feeding them regularly or in large quantities. Always ensure that any cereal you give to your dog does not contain artificial sweeteners like xylitol, which is highly toxic to dogs.
Can I make these bars gluten-free?
Yes, by using certified gluten-free oat cereal and ensuring that all additional ingredients are gluten-free, you can safely prepare gluten-free Honey Nut Cheerios breakfast bars.
How to make these nut-free?
Replace peanut butter with sunflower seed butter or tahini for a completely nut-free version that still holds together well and offers great flavor.
Can I use other cereals?
Absolutely. This recipe is highly adaptable. You can substitute Honey Nut Cheerios with other cereals like plain Cheerios, Rice Krispies, or even granola for different textures and flavors.
Can I reduce the sugar content?
Yes. Use natural peanut butter without added sugar, reduce the honey slightly, and skip the optional chocolate chips for a lower-sugar version.
Do these need to be refrigerated?
Refrigeration helps the bars firm up and maintain their structure. After setting, you can store them at room temperature for short periods, but refrigeration is recommended for longer storage to preserve freshness and prevent spoilage.
Conclusion
Homemade Honey Nut Cheerios breakfast bars are a quick, nutritious, and highly customizable snack that fits seamlessly into busy lifestyles. With minimal ingredients and no baking required, anyone can prepare these bars in less than 15 minutes of active time. Whether you are looking to meal prep for the week, pack healthier lunchbox snacks, or create an easy on-the-go breakfast option, this recipe delivers.
Experiment with variations to suit your dietary needs, whether you need a nut-free, gluten-free, or low-sugar option. The simple formula allows for endless customization while keeping the process effortless.
For more inspiration, visit our collection of healthy snack recipes and easy meal prep ideas to explore additional quick and healthy options.
Call to Action
Try making these Honey Nut Cheerios breakfast bars today and discover how simple, satisfying, and versatile they can be. Share your creations in the comments section, and let us know your favorite variations. Don’t forget to check out our other no-bake recipes for more delicious ideas.
Print
Honey Nut Cheerios Breakfast Bars Recipe: Quick No-Bake Cereal Snack
- Total Time: 2 hours 10 minutes
- Diet: Gluten Free
Ingredients
-
3 cups Honey Nut Cheerios
-
1/2 cup honey
-
1/2 cup creamy peanut butter
-
1 teaspoon vanilla extract
-
Pinch of salt
-
1/4 cup mini chocolate chips (optional)
Instructions
-
Line an 8×8-inch pan with parchment paper.
-
Gently heat honey and peanut butter in a saucepan, stirring until smooth.
-
Remove from heat, stir in vanilla and salt.
-
Pour mixture over cereal in a large bowl; mix well.
-
Press into the pan firmly.
-
Top with chocolate chips if desired.
-
Refrigerate for at least 2 hours before cutting into bars.
Notes
Storage:
-
Refrigerate up to 7 days.
-
Freeze up to 3 months.
- Prep Time: 10 minutes
- Cook Time: 2 hours
- Category: Breakfast, Snack, No-Bake
- Cuisine: American
Nutrition
- Calories: ~190 kcal
- Sugar: 13 g
- Sodium: 85 mg
- Fat: 9 g
- Saturated Fat: 2 g
- Carbohydrates: 24 g
- Protein: 4 g
- Cholesterol: 0 mg


Leave a Comment