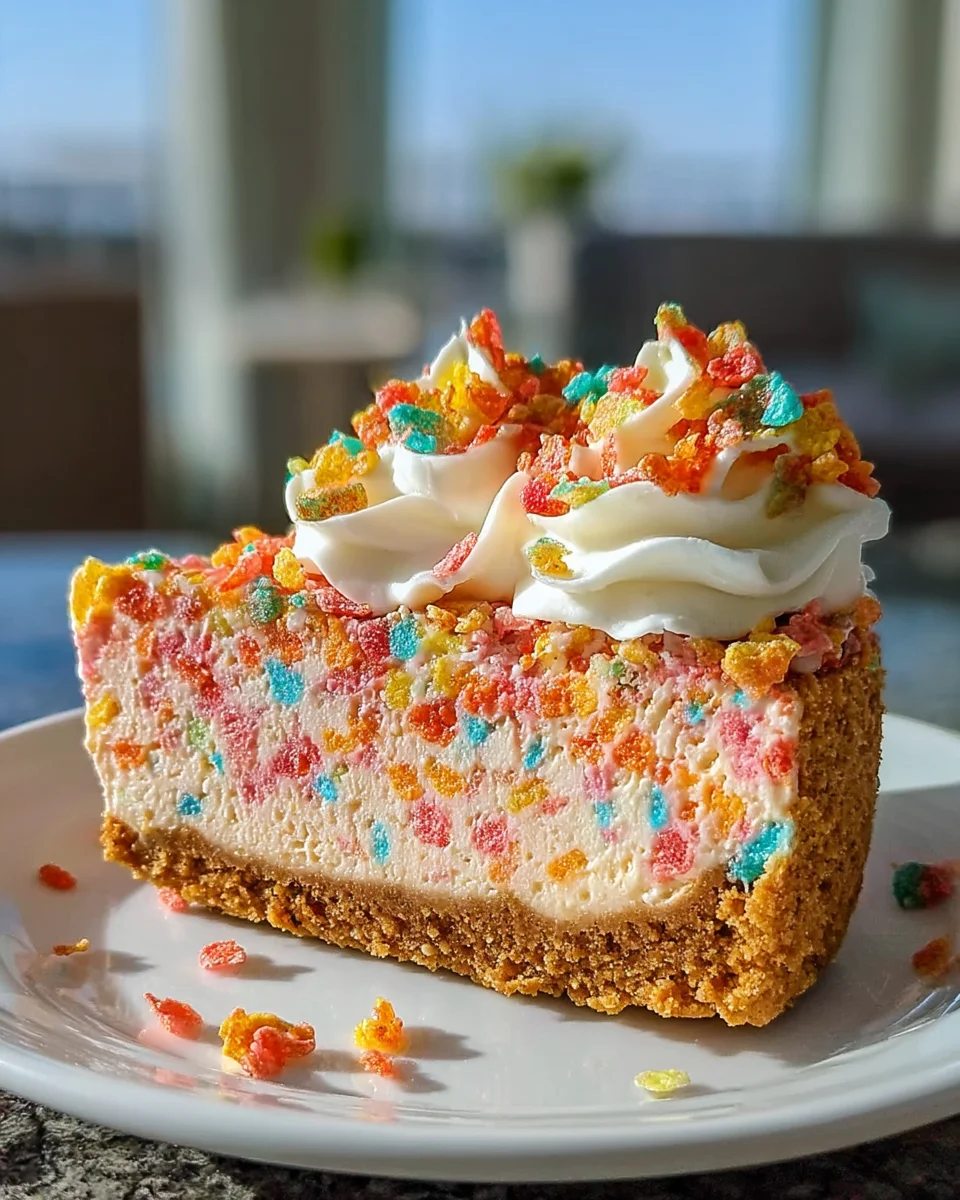
Fruity Pebbles Cheesecake is a delightful no-bake dessert that brings back childhood memories with its vibrant colors and fun flavors. This cheesecake is perfect for any occasion, from birthday parties to family gatherings, making it a hit among kids and adults alike. Its unique combination of creamy cheesecake and crunchy Fruity Pebbles creates a delightful contrast that will leave everyone wanting more.
Why You’ll Love This Recipe
- Easy Preparation: This fruity cheesecake requires no baking, making it simple for anyone to whip up.
- Kid-Friendly Fun: Kids will love the colorful cereal and can even help with the mixing!
- Versatile Dessert: Perfect for birthdays, potlucks, or just a sweet treat at home.
- Delicious Flavor: The mix of cream cheese, whipped cream, and Fruity Pebbles offers a unique taste experience.
- Eye-Catching Presentation: The colorful layers make this cheesecake a showstopper on any dessert table.
Tools and Preparation
To create this fun dessert, you’ll need a few essential tools to make the process smooth and efficient.
Essential Tools and Equipment
- Springform pan
- Mixing bowls
- Electric mixer
- Food processor
Importance of Each Tool
- Springform pan: Ideal for easy removal of your cheesecake without damaging its shape.
- Electric mixer: Makes whipping cream and blending ingredients quick and easy, ensuring a fluffy texture.
- Food processor: Perfect for grinding the Nilla Wafers and Fruity Pebbles into fine crumbs with minimal effort.
Ingredients
A playful no-bake cheesecake featuring Fruity Pebbles cereal in the crust, filling, and whipped cream topping.
For the Crust
- 1 cup Nilla Wafer crumbs
- 2 cups Fruity Pebbles cereal
- ½ cup unsalted butter, melted
For the Filling
- 1½ cups plus 2 tablespoons heavy cream
- ¾ cup powdered sugar
- 2 cups Fruity Pebbles cereal
- 16 ounces cream cheese
- ½ cup granulated sugar
For Topping
- ¾ cup heavy cream for topping
- ½ cup Fruity Pebbles for topping
- 2 tablespoons powdered sugar for topping
How to Make Fruity Pebbles Cheesecake
Step 1: Prepare the Crust
- In a food processor, grind together the Nilla Wafer crumbs and 2 cups of Fruity Pebbles until fine.
- Mix in the melted butter until well combined.
- Press the mixture firmly into the bottom of your springform pan to create an even crust.
Step 2: Make the Whipped Cream
- In a mixing bowl, whip 1½ cups of heavy cream with ¾ cup powdered sugar until soft peaks form.
- Set aside some whipped cream for topping later.
Step 3: Prepare the Filling
- In another bowl, beat together 16 ounces of cream cheese with ½ cup granulated sugar until smooth.
- Gently fold in the whipped cream mixture along with crushed Fruity Pebbles from step one until fully combined.
Step 4: Assemble and Refrigerate
- Pour the creamy filling over your prepared crust in the springform pan.
- Cover and refrigerate for at least 4 hours or until set.
Step 5: Decorate Before Serving
- To prepare the topping, whip together ¾ cup heavy cream with 2 tablespoons powdered sugar until stiff peaks form.
- Spread this whipped cream over the chilled cheesecake and sprinkle with remaining ½ cup of Fruity Pebbles for added crunch.
Now your delightful Fruity Pebbles Cheesecake is ready to impress! Enjoy every colorful bite!
How to Serve Fruity Pebbles Cheesecake
Fruity Pebbles Cheesecake is a delightful dessert that brings joy to any gathering. Its vibrant colors and playful flavors make it perfect for celebrations. Here are some fun serving suggestions to enhance your cheesecake experience.
Individual Servings
- Serve in small cups for a fun, portable dessert option. Layer the cheesecake with extra Fruity Pebbles for added crunch.
Slice with Toppings
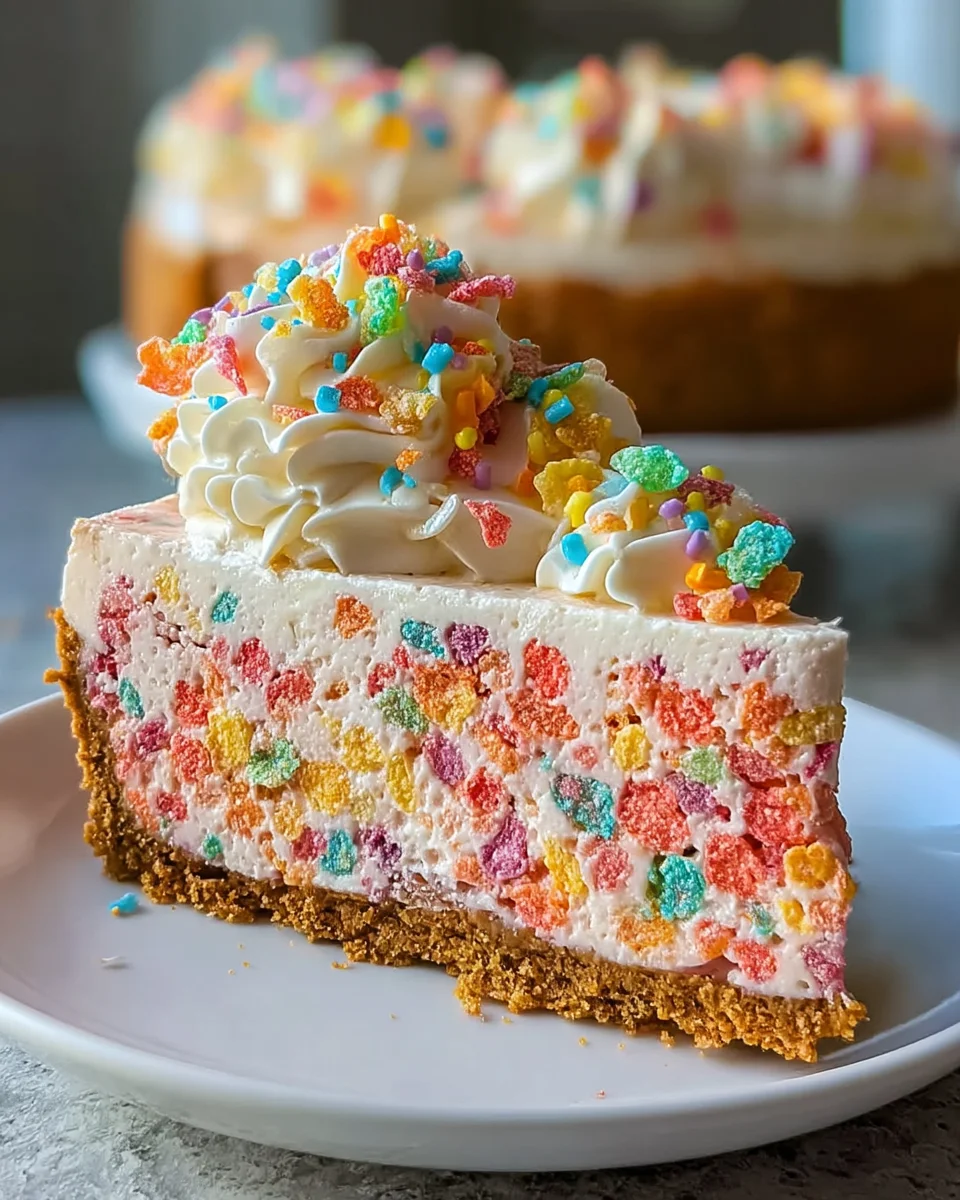
- Top each slice with whipped cream and a sprinkle of Fruity Pebbles. This adds texture and makes it visually appealing.
Ice Cream Pairing
- Serve alongside a scoop of vanilla ice cream. The creamy ice cream complements the cheesecake’s flavor perfectly.
Festive Platter
- Create a dessert platter featuring your Fruity Pebbles Cheesecake alongside other colorful treats. This will wow your guests at any party.
Birthday Celebration
- Use slices of the cheesecake as a birthday cake alternative. Add candles on top for an extra festive touch.
Kids’ Party Treat
- Cut into fun shapes using cookie cutters. This makes it more engaging for children during parties or playdates.
How to Perfect Fruity Pebbles Cheesecake
To ensure your Fruity Pebbles Cheesecake turns out perfectly, consider these helpful tips.
- Use room temperature cream cheese: This helps achieve a smooth filling without lumps.
- Crush the cereal finely: A finer texture blends better into the cheesecake, enhancing its overall flavor.
- Chill adequately: Refrigerate for at least 4 hours, or overnight for best results. This allows the cheesecake to set properly.
- Stir gently: When folding whipped cream into the mixture, be gentle to maintain its lightness.
- Customize toppings: Feel free to experiment with different toppings, like chocolate drizzle or fresh fruit, to suit your taste.
- Store correctly: Keep leftovers in an airtight container in the refrigerator to maintain freshness.
Best Side Dishes for Fruity Pebbles Cheesecake
Pairing side dishes with your Fruity Pebbles Cheesecake can elevate your dessert experience. Here are some delicious options that complement its sweetness.
- Fresh Fruit Salad: A mix of seasonal fruits adds freshness and balance to the rich cheesecake.
- Chocolate Dipped Strawberries: These sweet bites provide a contrast in flavors and are always a hit.
- Mini Cupcakes: Offer an assortment of mini cupcakes for variety; their small size makes them easy to enjoy alongside cheesecake.
- Caramel Popcorn: Sweet and crunchy popcorn is a great snack that pairs well with the creamy cheesecake.
- Ice Cream Sundae Bar: Set up a sundae station where guests can create their own sundaes, adding an interactive element to dessert time.
- Cheese Platter: A selection of cheeses provides a savory contrast that balances out the sweetness of the cheesecake.
- Fruit Sorbet: Light and refreshing, sorbet is a perfect palate cleanser after enjoying rich desserts like this cheesecake.
- Brownie Bites: These fudgy treats add another layer of indulgence and pair wonderfully with fruity flavors.
Common Mistakes to Avoid
When making your Fruity Pebbles Cheesecake, it’s easy to overlook a few key steps. Here are some common pitfalls to avoid:
- Skipping the crust chill: Not allowing the crust to set can lead to a soggy base. Be sure to refrigerate it for at least 30 minutes.
- Overmixing the whipped cream: This can turn your cream into butter, ruining the texture. Mix just until soft peaks form for the perfect lightness.
- Not measuring ingredients accurately: Incorrect measurements can affect taste and texture. Use a kitchen scale or measuring cups for precision.
- Ignoring refrigeration time: Rushing the chilling process can result in a cheesecake that doesn’t hold its shape. Allow it to set for at least four hours.
- Using room temperature cream cheese: Cold cream cheese can create lumps in your filling. Always let it sit out for about 30 minutes before mixing.
Storage & Reheating Instructions
Refrigerator Storage
- Store leftovers in an airtight container.
- Keep in the refrigerator for up to 5 days.
Freezing Fruity Pebbles Cheesecake
- Wrap tightly in plastic wrap and then in aluminum foil.
- Freeze for up to 3 months for best quality.
Reheating Fruity Pebbles Cheesecake
- Oven: Preheat to 250°F (121°C) and warm slice on a baking sheet for about 10 minutes.
- Microwave: Heat for 10-15 seconds at a low power setting, checking frequently.
- Stovetop: Place on a plate over simmering water, covering until warmed through.
Frequently Asked Questions
Here are answers to some common questions about Fruity Pebbles Cheesecake:
Can I make Fruity Pebbles Cheesecake ahead of time?
Yes, this cheesecake is perfect for making ahead! It keeps well in the fridge for several days.
How do I customize my Fruity Pebbles Cheesecake?
You can add different toppings like chocolate sauce, fruit, or even other cereals for added crunch and flavor!
What if I can’t find Fruity Pebbles cereal?
You can substitute with any fruity cereal or even try using crushed fruit-flavored candies.
Is this recipe suitable for kids?
Absolutely! The colorful appearance and fun flavors make it a hit among kids and adults alike.
How should I serve Fruity Pebbles Cheesecake?
Slice into wedges and garnish with extra whipped cream and Fruity Pebbles on top for an eye-catching presentation.
Final Thoughts
The Fruity Pebbles Cheesecake is not only visually stunning but also delightfully tasty. Its playful flavors make it ideal for parties, potlucks, or family gatherings. Feel free to experiment with toppings or mix-ins to suit your taste preferences!
Fruity Pebbles Cheesecake
- Total Time: 30 minutes
- Yield: Serves approximately 12 slices 1x
Description
Indulge in the delightful Fruity Pebbles Cheesecake, a vibrant no-bake dessert that captures the essence of childhood with its fun flavors and colorful presentation. This creamy cheesecake features a crunchy Fruity Pebbles cereal crust, topped with whipped cream and even more Fruity Pebbles for an extra pop of color and texture. Perfect for any occasion—from birthday parties to family gatherings—this dessert is sure to be a hit among both kids and adults alike. Easy to prepare, this playful treat invites everyone to join in on the fun. Try it today and make lasting memories with every colorful slice!
Ingredients
- 1 cup Nilla Wafer crumbs
- 2 cups Fruity Pebbles cereal
- ½ cup unsalted butter, melted
- 16 ounces cream cheese
- 1½ cups heavy cream
- ¾ cup powdered sugar
- ½ cup granulated sugar
Instructions
- Combine Nilla Wafer crumbs and Fruity Pebbles in a food processor; mix in melted butter. Press into the bottom of a springform pan.
- Whip heavy cream with powdered sugar until soft peaks form; set aside some for topping.
- Beat cream cheese and granulated sugar until smooth; gently fold in whipped cream and crushed Fruity Pebbles.
- Pour filling over crust; refrigerate for at least 4 hours until set.
- Top with remaining whipped cream and sprinkle with more Fruity Pebbles before serving.
- Prep Time: 30 minutes
- Cook Time: 0 minutes
- Category: Dessert
- Method: No-bake
- Cuisine: American
Nutrition
- Serving Size: 1 slice (approximately 100g)
- Calories: 320
- Sugar: 22g
- Sodium: 180mg
- Fat: 24g
- Saturated Fat: 14g
- Unsaturated Fat: 8g
- Trans Fat: 0g
- Carbohydrates: 26g
- Fiber: 1g
- Protein: 4g
- Cholesterol: 70mg
Leave a Comment